
Mastering the Freestyle stroke can be quite challenging for beginners. When it comes to breathing, it requires a solid understanding of a proper technique.
Breathing when swimming freestyle may seem difficult at first but fear not! We will share step-by-step instructions to help you improve your freestyle breathing technique.
We will also see how to fix the most common mistakes beginners do when swimming Freestyle.
Understanding the Basics of Freestyle Breathing
Let’s clear the basics of freestyle breathing.
Maintaining a proper rhythmic breathing pattern synchronized with your stroke is essential.
Here’s how you can do it:
Head Position
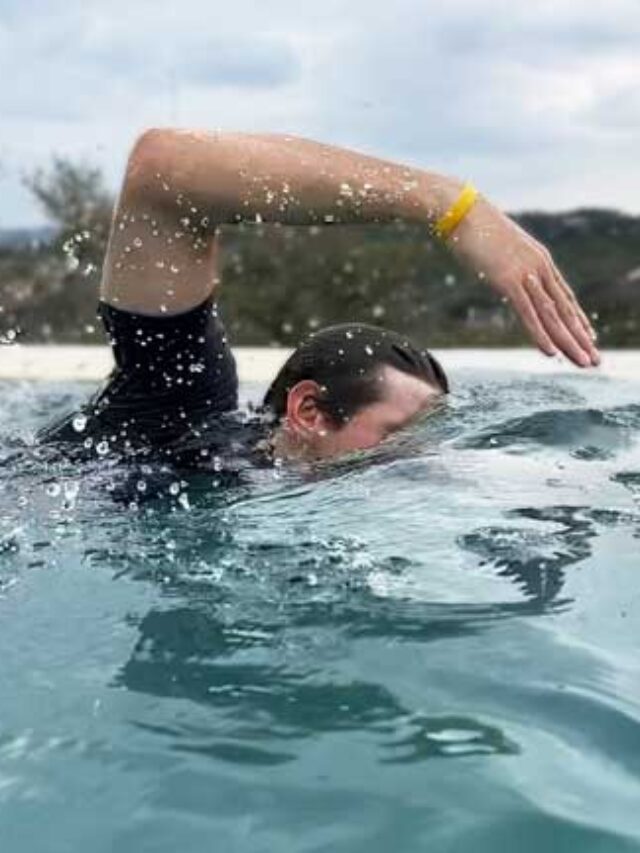
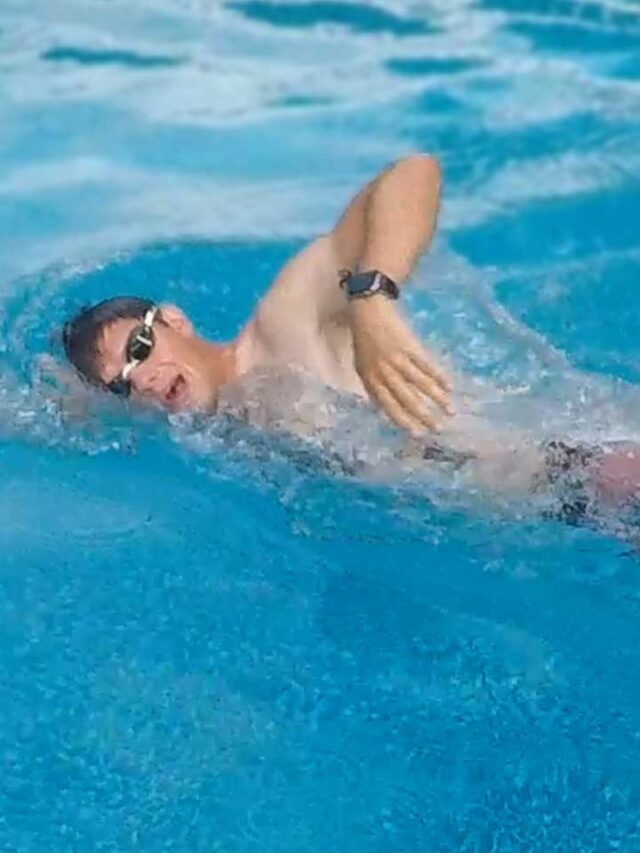
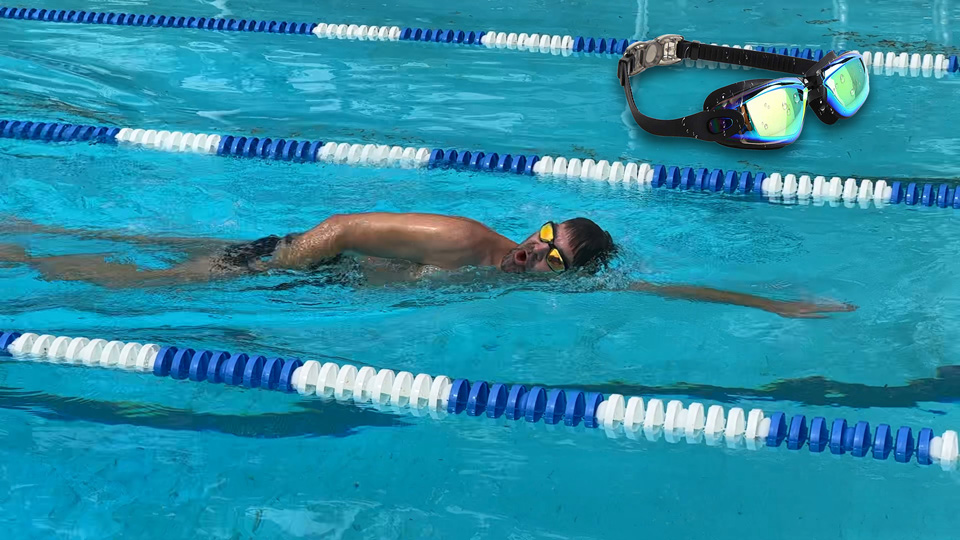
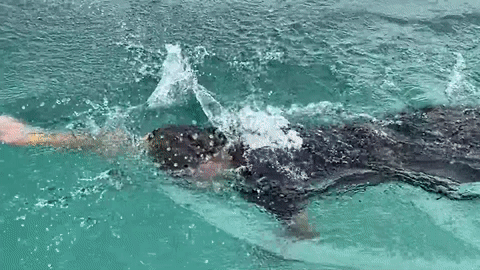
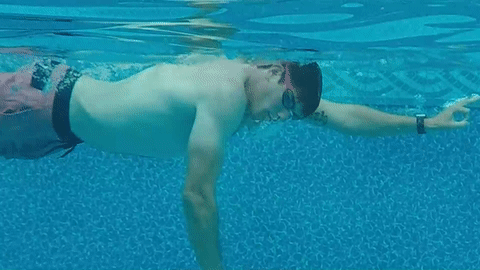
Avoid lifting your head too high out of the water when breathing. Rotate your head to the side just enough to breathe while keeping one eye in the water.
This helps reduce drag and helps maintain your momentum.
When exhaling, your head should be facing straight down. Your goal is to keep your head in line with your body.
Watch this video to learn Freestyle Swimming in detail.
Timing
Breathing and body rotation are closely linked in Freestyle stroke. So perfecting the timing is very crucial.
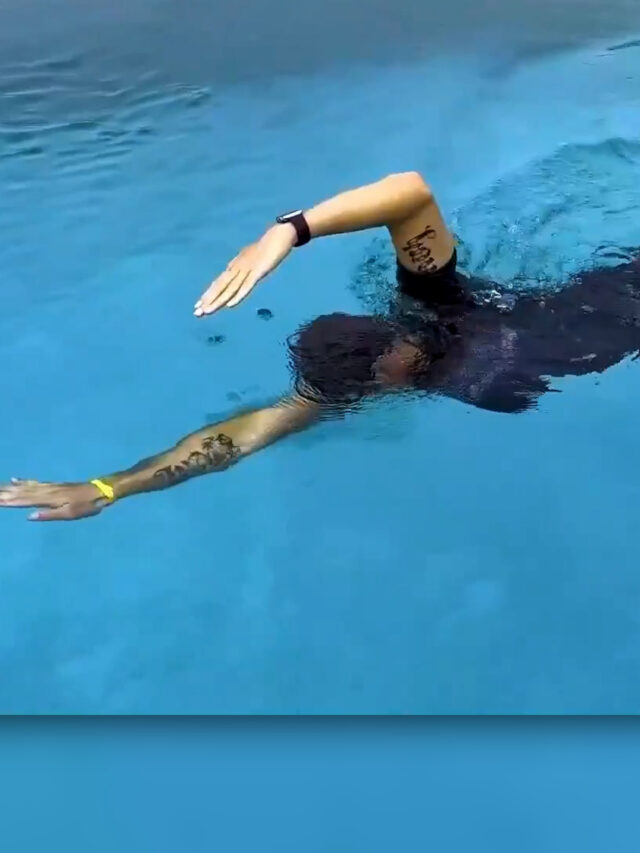
- Turn your head to the side as your hand extends forward.
- Start your breath as soon as you start pulling.
- Complete your breath by the time your pull ends.
- Start exhaling as soon as your head is in the water.
Rotating your head too early or too late will disrupt your body position and slow you down.
Body Rotation
Proper body rotation is very important in freestyle breathing.
As you breathe, rotate your entire body to the side, not just your head. This allows for a more natural and streamlined breathing motion.
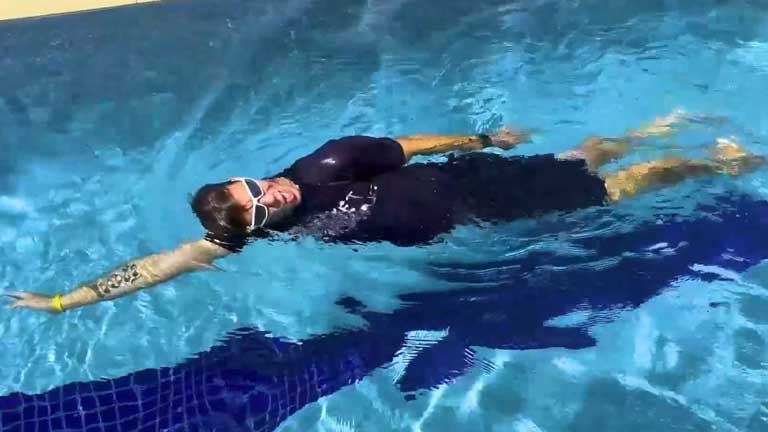
Rotating your body to the side makes you more hydrodynamic. A hydrodynamic body shape improves your performance by a huge margin.
Body rotation reduces strain on your neck and enables easier breathing.
Step-by-Step Instructions for Beginners:
Let’s dive into a step-by-step process to improve your freestyle breathing technique.
Breathing Practice
Begin by practicing your breathing technique while standing in shallow water.
Turn your head to the side while submerging your face in the water. Exhale slowly through your mouth and nose.
After you get comfortable, start by performing these drills while floating.
Exhale Underwater
Exhale continuously through your nose while your face is in the water.
This will help you to inhale as soon as your head rotates. This is very important to reduce the time you spend out of the water.
One-Side Breathing
Before moving to bilateral breathing, we will practice breathing only on one side. This will help you get comfortable with the whole process.
Begin by swimming a few laps while breathing on only one side. You are free to choose your comfortable side.
Follow the proper timing, body rotation, and head position when you breathe.
Bilateral Breathing
Bilateral breathing involves inhaling on both sides alternatively.
Breathing on both sides improves your balance, body alignment, and overall symmetry.
Practice breathing every three strokes, gradually increasing to every two strokes.
Timing and Coordination
Focus on the coordination between your arm strokes and breathing.
Time your inhales to occur when your arm extends forward during the arm recovery phase.
This synchronization keeps the stroke rhythm smooth and maximizes efficiency.
Common Freestyle Swimming Mistakes and How to Fix Them
Let’s look at the most common mistakes made by beginners and how to fix them.
If not pointed out by a trainer, these mistakes go unnoticed and can become a part of your swimming style.
Fixing these common mistakes should be the first priority before doing anything else.
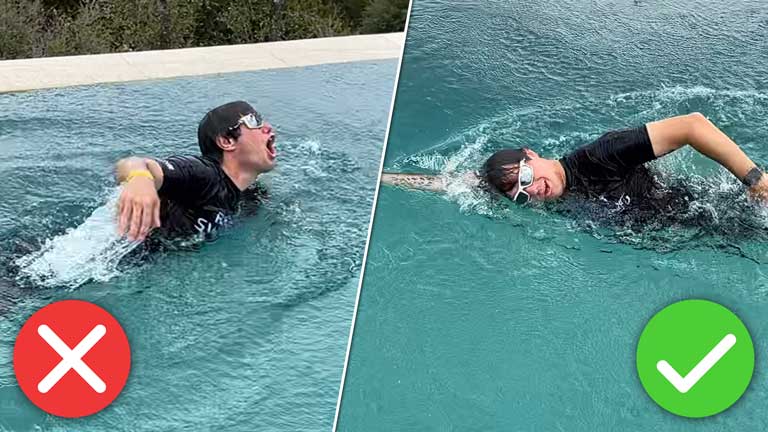
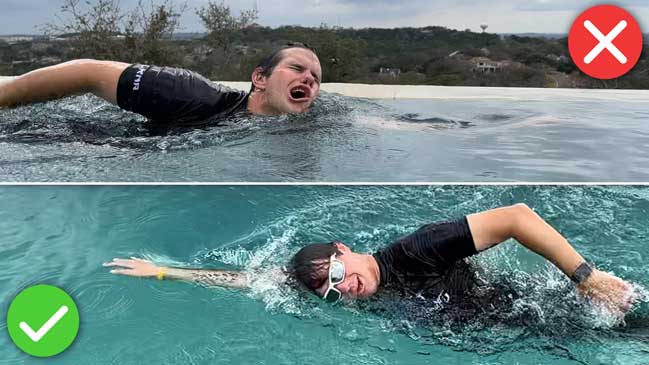
Lifting the Head Too High
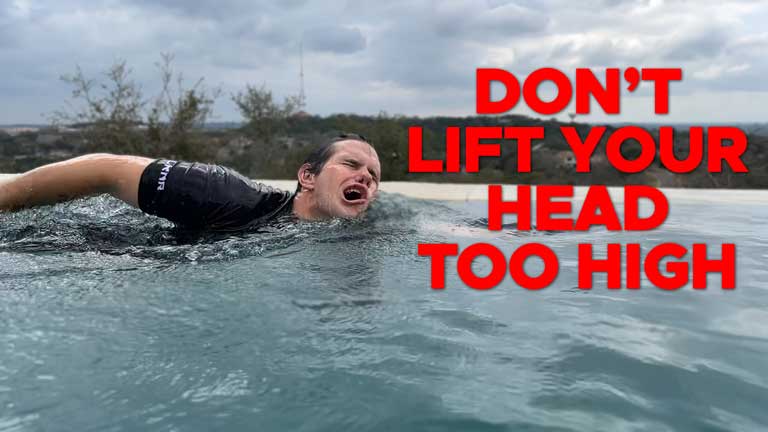
This is the most common one and 99% of beginners lift their head too high when breathing.
Even some experienced swimmers tend to do this mistake.
Lifting your head too high out of the water causes you to slow down and it puts a lot of strain on your neck.
How to Fix: Rotate your head to the side and breathe slightly behind you. Practice this by standing in shallow water until you get comfortable.
Holding the Breath
This is another common mistake.
It’s very surprising to see that many instructors ignore this mistake.
Holding your breath for too long will cause exhaustion due to a lack of oxygen supply to your muscles. Your muscles need a constant supply of oxygen and holding your breath is not recommended.
Treat swimming like any other activity. Ask yourself these few questions and you will get your answers.
1: Do you hold your breath when running?
2: Do you hold your breath when biking?
3: Do you hold your breath when eating?
Waiting too long to take a breath can result in rushed and inefficient breathing.
How to fix: Exhale slowly and continuously as you swim, rather than holding your breath. This promotes relaxation, rhythm, and better oxygen exchange. Ensure that the inhale is timed with your arm recovery, giving your stroke a natural rhythm.
Recommended Breathing Drills and Exercises
These 2 drills can help you get comfortable as a beginner swimmer. Building confidence and becoming
Kickboard Drill
By using a kickboard, you can focus only on your breathing instead of your arms and legs.
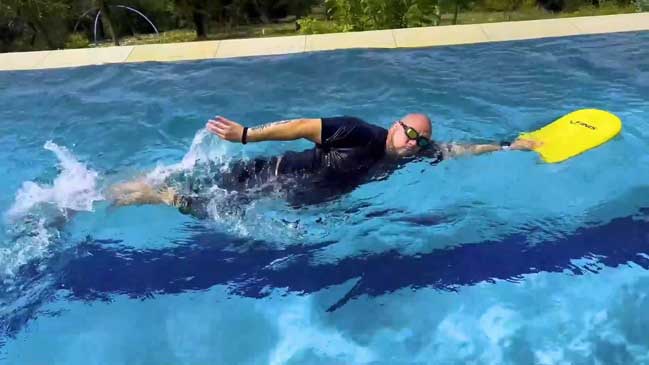
To perform the kickboard drill, follow these steps:
- Begin by holding a kickboard with both hands and grip it near the top corners.
- Push off the wall or start from a standing position in shallow water.
- Practice your breathing by turning your head to the side. Kick throughout the drill.
- Make sure that you rotate your entire body to the side during each breath.
Catch-up Drill
Swim freestyle with one arm extended in front of you and the other arm performing a full stroke. This exercise helps improve proper breathing and body positioning.
- Start horizontally in the water, with your body aligned and facing downward.
- Begin swimming freestyle with one arm extended forward, while the other arm completes a full stroke.
- As you swim, focus on your breathing and body rotation. Coordinate your breath with the arm recovery phase while turning your head to the side to take a breath.
- Once the recovering arm completes its stroke, extend it forward and wait until it “catches up” with the other arm before starting the next stroke.
- During the arm recovery phase, ensure that your head is facing downward, maintaining a neutral position.
- Pay attention to maintaining proper body position throughout the drill.
Practice the kickboard and catch-up drill until you get comfortable with the breathing technique.
Videos to learn Freestyle Breathing
Watch the following videos to learn freestyle breathing in detail.
Freestyle Swimming Breathing Technique | Step-by-Step Drills For Beginners
Learn freestyle swimming breathing techniques for beginners by watching & practicing the step-by-step drills demonstrated in this video. How to breathe while swimming is a question asked by many beginner swimmers and Jonny Rocket addresses the same in this video. You will learn to breathe to the side when swimming freestyle. But before learning side breathing you will learn some basic drills to improve your head position and breathing technique.
How To Breathe When Swimming For Beginners – Freestyle Breathing Drills – How To Swim
In this video, you will learn how to breathe while swimming freestyle for beginners. You will learn easy freestyle breathing drills with step-by-step progressions. You will never struggle to breathe when swimming freestyle again after watching this video and practicing as per the instructions. Breathing when swimming can be challenging for a lot of beginners and only the proper step-by-step technique that teaches how to breathe properly when swimming will help them master breathing when swimming freestyle.
Feel free to contact me if you have any questions.